Table of Contents
Ever imagined a jam that tastes like a refreshing summer breeze? Prepare to be amazed! This article is your passport to the wonderfully unexpected world of DIY spearmint tea jams. Forget store-bought – we're diving headfirst into creating your own unique, flavourful preserves. We'll guide you through each step, from selecting the perfect spearmint to achieving that ideal jam consistency. Get ready to explore exciting flavour combinations that will transform your breakfast toast or afternoon tea into a truly memorable experience. We'll even share expert tips on preserving your homemade DIY spearmint tea jams, ensuring you can savor the taste of summer long after the season's end. So, whether you're a seasoned jam-maker or a complete beginner, prepare to be inspired. Let's embark on this delicious adventure together and discover the magic of DIY spearmint tea jams!
Crafting Your Own DIY Spearmint Tea Jams
Crafting Your Own DIY Spearmint Tea Jams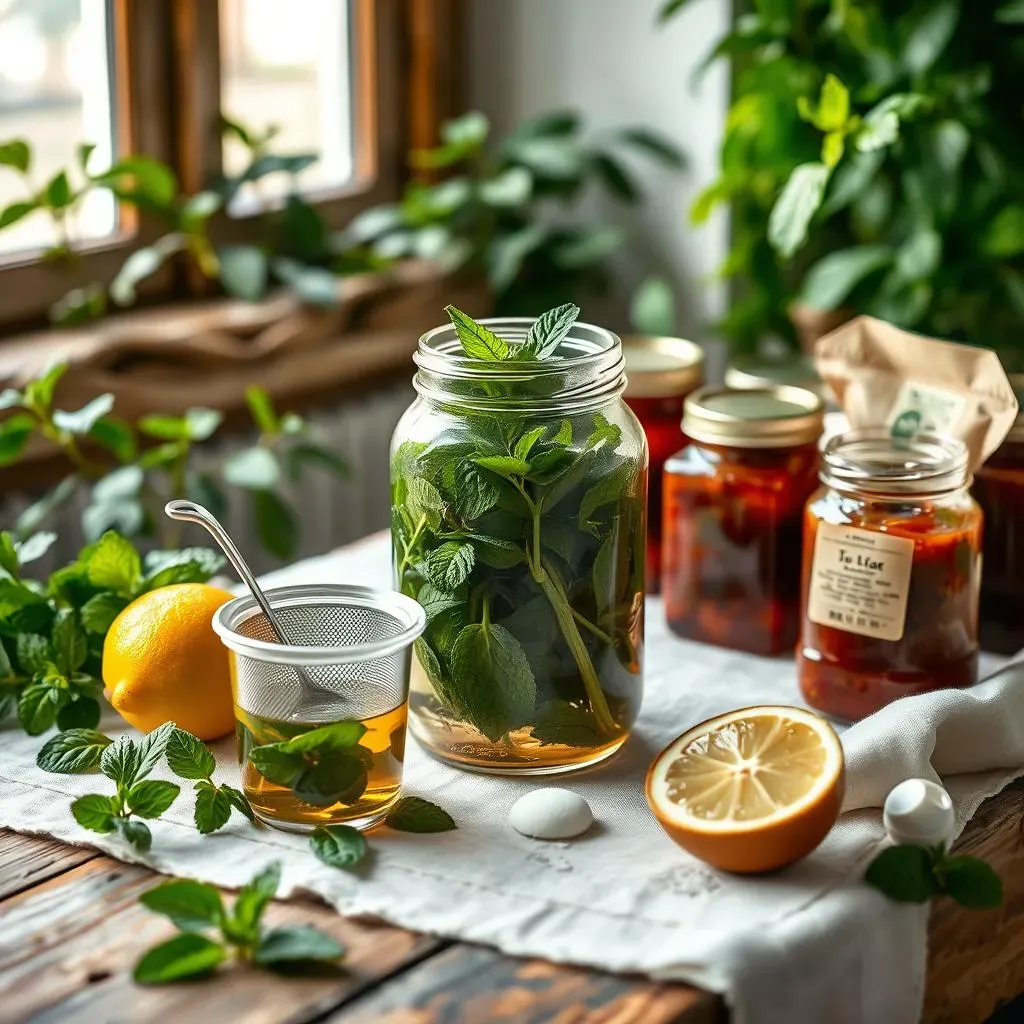
Gathering Your Ingredients: A Spearmint Symphony
Let's start with the star of the show: spearmint! You'll want fresh, vibrant leaves, bursting with that unmistakable minty aroma. The quantity depends on how much jam you plan to make – a good rule of thumb is about 1 cup of packed leaves per cup of finished jam. Beyond the spearmint, you'll need sugar (granulated is best), lemon juice (for that extra zing and pectin boost!), and of course, your favorite tea. A light, floral tea pairs well with spearmint, but feel free to experiment! Think Earl Grey, chamomile, or even a delicate green tea. Don't forget your trusty jars and lids – sterilized, of course, to ensure your jam's longevity.
Remember, the quality of your ingredients directly impacts the final product. Use high-quality tea and fresh, pesticide-free spearmint for the best results. Think of it as building with LEGO bricks – you wouldn’t use cracked bricks for a masterpiece, would you? Sourcing your spearmint from a local farmer's market or even growing your own is a fantastic way to guarantee freshness and support your community. It's a win-win!
Ingredient | Quantity (adjust as needed) | Notes |
|---|---|---|
Fresh Spearmint Leaves | 1 cup (packed) per cup of jam | Use fragrant, vibrant leaves |
Granulated Sugar | Equal to the amount of spearmint & tea liquid | Adjust sweetness to your preference |
Lemon Juice | 2 tablespoons per cup of jam | Adds pectin and brightens flavor |
Tea (your choice) | 1 cup brewed, strong tea | Choose a tea that complements spearmint |
Brewing the Perfect Tea Base: The Foundation of Flavor
Now, let's brew that tea! The strength of your tea base significantly impacts the flavor profile of your jam. A strong brew is essential for a rich, flavorful jam. Start by heating your water – don't boil it yet! Add your chosen tea leaves to a teapot or heatproof container. Once the water is just off the boil, pour it over the tea leaves and allow it to steep for at least 5-7 minutes. The longer it steeps, the stronger the flavor will be. Once steeped, carefully strain the tea to remove the leaves, ensuring you capture all that delicious tea essence. Set the tea aside to cool slightly – you don't want to cook the spearmint in boiling hot liquid!
Think of your tea as the secret ingredient that elevates this jam beyond the ordinary. Experiment with different tea types to discover unique flavor profiles. Perhaps a smoky lapsang souchong will create a surprisingly complex jam? Or maybe a fruity rooibos will add a delightful sweetness? The possibilities are endless. Don't be afraid to get creative and let your taste buds be your guide. Remember, it’s your jam, your rules! Let your creativity flow!
- Choose a high-quality tea that complements spearmint.
- Brew a strong tea for a richer flavor profile.
- Strain the tea carefully to remove the leaves.
- Allow the tea to cool slightly before adding it to the jam.
Exploring Flavor Combinations for DIY Spearmint Tea Jams
Exploring Flavor Combinations for DIY Spearmint Tea Jams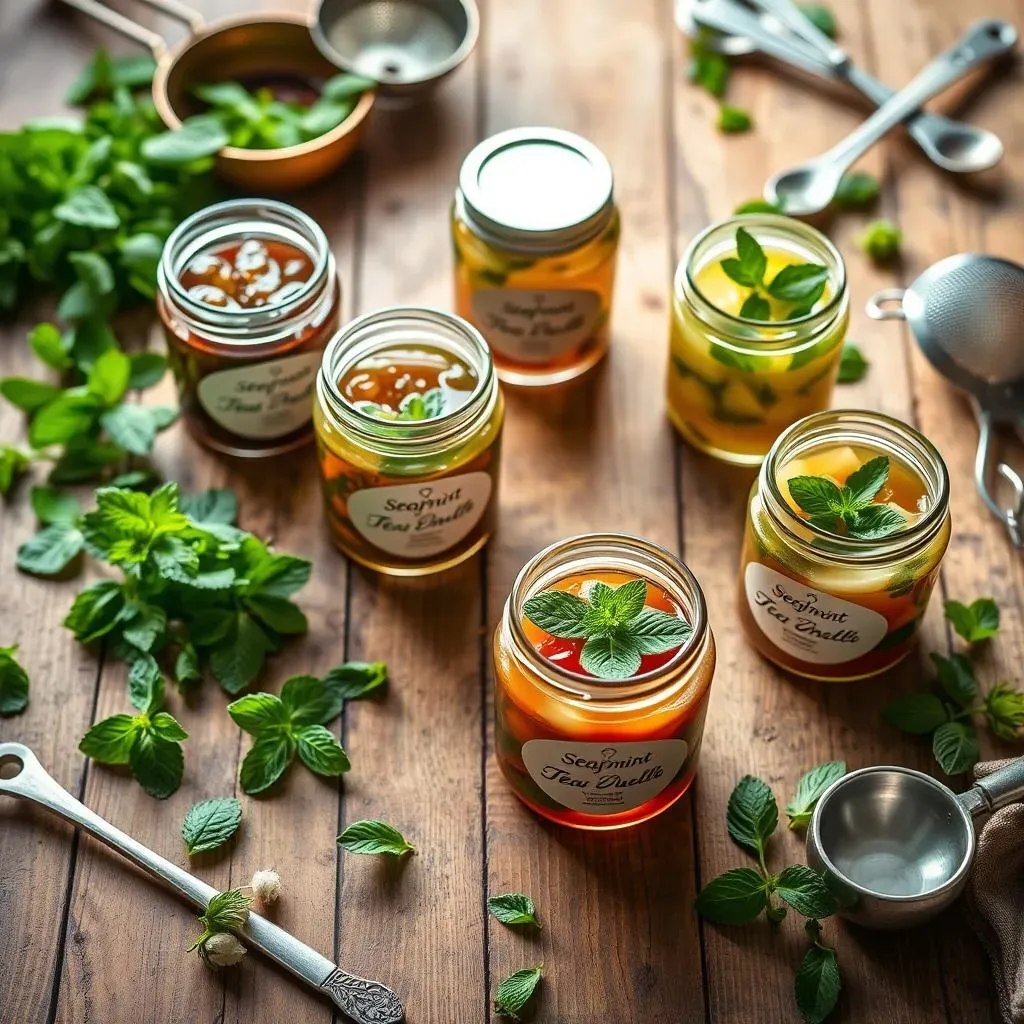
Exploring Flavor Combinations: Beyond the Basics
Okay, so we've got our spearmint and tea sorted. Now for the fun part: experimenting with flavors! The beauty of DIY spearmint tea jams is the endless possibilities. Think of it like creating your own custom pizza – the base is delicious, but the toppings are where the magic happens. You can go classic with a simple lemon twist, enhancing the spearmint's freshness. Or, get adventurous! A splash of orange blossom water adds a delicate floral note, while a pinch of cardamom introduces a warm, spicy kick. For a truly unique experience, consider adding finely chopped crystallized ginger or a touch of vanilla extract. The key is to balance the flavors – you want the spearmint to shine, but the additions should complement, not overpower.
Remember, tasting as you go is crucial. Don't be afraid to adjust the sweetness or add a little more of this or that until you achieve your perfect balance. It's all about creating a jam that reflects your personal taste. It's your culinary masterpiece, after all! And don't be afraid to fail – even "failed" batches often lead to unexpected discoveries! So, grab your ingredients, unleash your creativity, and let's craft some seriously delicious jams.
Flavor Addition | Amount (per cup of jam) | Effect on Flavor |
|---|---|---|
Lemon Zest | 1 teaspoon | Brightens and enhances freshness |
Orange Blossom Water | 1/2 teaspoon | Adds delicate floral notes |
Cardamom Powder | 1/4 teaspoon | Introduces warm, spicy undertones |
Crystallized Ginger (finely chopped) | 1 tablespoon | Adds a spicy sweetness |
Vanilla Extract | 1/2 teaspoon | Adds a subtle sweetness and warmth |
More Flavor Adventures: A Culinary Journey
Let's take our flavor exploration a step further! Imagine the possibilities beyond the basics. How about a hint of rosewater for a romantic touch, or perhaps some lavender for a calming aroma? A dash of cinnamon could add a comforting warmth, perfectly suited for colder months. And for the truly daring, consider incorporating a bit of chili flakes for a surprising kick. These additions add layers of complexity, transforming your simple spearmint tea jam into a truly gourmet experience. Remember, the key is to experiment, have fun, and let your creativity run wild.
Think about the seasonality of your additions. Summer berries, such as raspberries or strawberries, could add a vibrant burst of fruity flavor. In autumn, a touch of apple cider or pumpkin spice could create a cozy and comforting jam. The possibilities are as diverse as your imagination! Don't be afraid to try unexpected combinations. You might just discover your new favorite jam flavor. The world of flavor is your oyster; go explore!
- Rosewater: A touch of romance and floral elegance
- Lavender: Calming and aromatic
- Cinnamon: Warmth and comforting spice
- Chili Flakes: A surprising kick
- Seasonal Fruits: Summer berries, autumn apples
The Art of Setting the Perfect DIY Spearmint Tea Jam Consistency
The Art of Setting the Perfect DIY Spearmint Tea Jam Consistency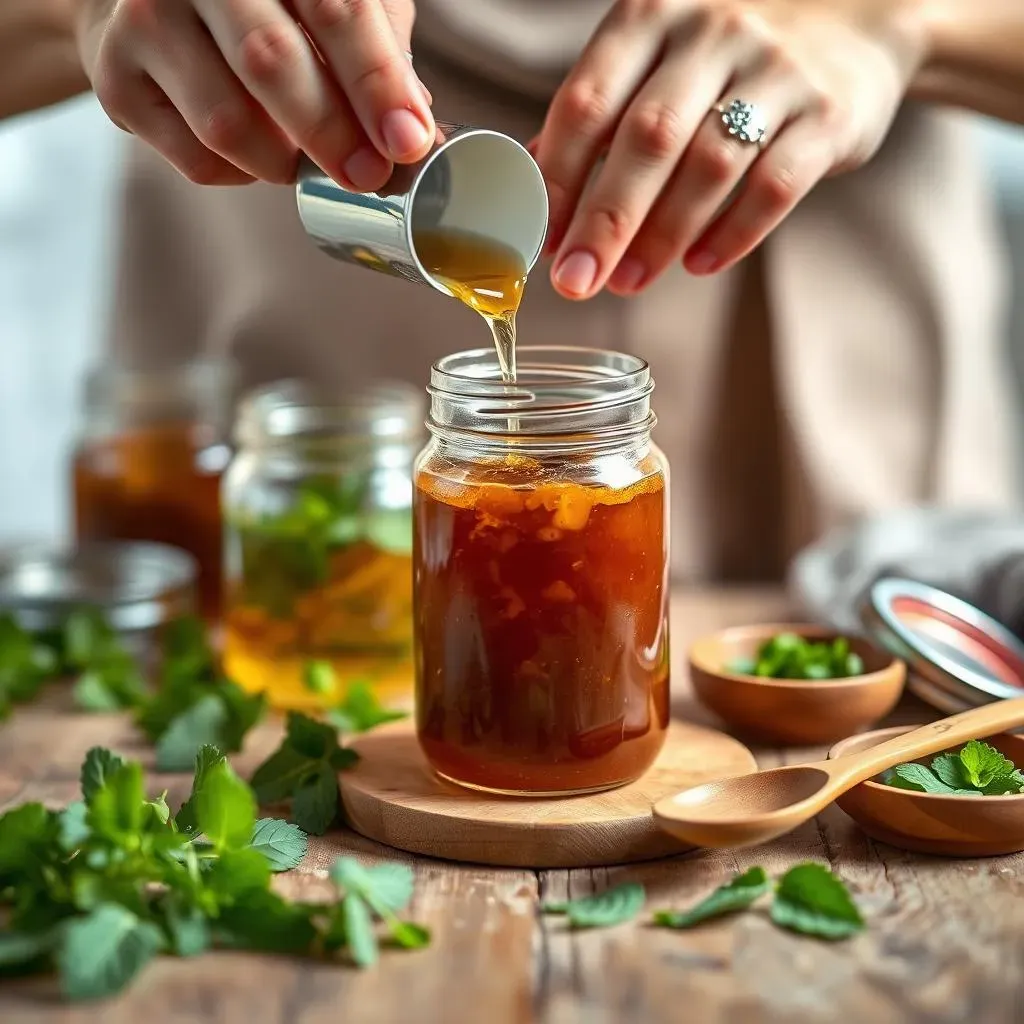
Understanding the Pectin Factor: The Jam's Secret Weapon
So, you've got your amazing spearmint tea mixture, and you're ready to create jam magic. But here's the thing: the consistency is EVERYTHING. Too thin, and you've got a sugary tea; too thick, and you've got something closer to a solid block. The key to perfect jam consistency lies in understanding pectin. Pectin is a natural substance found in fruits (and some vegetables) that helps the jam thicken. Lemon juice is a great source of pectin, but you might need a little extra help depending on the type of tea and your spearmint. That's where pectin powder comes in handy – it's a magical ingredient that helps you control the thickness of your jam.
Think of pectin as the glue that holds your jam together. It's what transforms a watery mixture into a luscious spread. Without enough pectin, your jam will be runny and won't set properly. Too much pectin, and it will be rock-hard. Finding that perfect balance is key to creating a jam that's both delicious and perfectly spreadable. Don't worry; it's easier than it sounds; we'll walk you through it step-by-step. Remember, practice makes perfect. Even experienced jam-makers occasionally have a batch that doesn't set perfectly; it's all part of the learning process.
Pectin Level | Jam Consistency | Troubleshooting |
|---|---|---|
Low Pectin | Runny, doesn't set | Add more lemon juice or pectin powder |
Medium Pectin | Perfect consistency | Enjoy! |
High Pectin | Too thick, hard to spread | Add more liquid (tea or water) |
Mastering the Simmer: The Gentle Art of Jam-Making
Once you've got your ingredients combined – spearmint, tea, sugar, lemon juice, and any other flavor additions – it's time for the simmer. This is where the magic happens! Bring your mixture to a gentle boil, stirring frequently to prevent sticking and burning. You'll need to watch it carefully; it's a delicate dance between heat and patience. This process helps break down the pectin and allows it to do its work. It's important to maintain a steady simmer; you don't want it bubbling furiously. A rolling boil is a recipe for disaster; it can lead to a jam that's too thick or even burned.
The simmering time is crucial for achieving the perfect consistency. It varies depending on the amount of pectin in your mixture and the desired thickness of your jam. A good rule of thumb is to simmer for at least 10-15 minutes, or until the jam reaches the "wrinkle test." This involves placing a small amount of jam on a chilled plate and letting it cool. If it wrinkles when you push it with your finger, it's ready! If it's still too runny, simmer a little longer. If it's already too thick, add a bit of water and continue simmering. Remember, patience is a virtue in jam-making. It's a slow process, but the results are worth the wait.
- Maintain a gentle simmer, not a rolling boil.
- Stir frequently to prevent sticking and burning.
- Use the wrinkle test to check for readiness.
- Adjust simmering time as needed to achieve desired consistency.
The Wrinkle Test and Beyond: Ensuring a Perfect Set
The wrinkle test is your best friend when it comes to determining whether your DIY spearmint tea jam has reached the perfect consistency. As mentioned before, this involves placing a small spoonful of the simmering jam onto a chilled plate. Let it sit for a minute or two, then gently push the jam with your finger. If the surface wrinkles, it's ready to be jarred. If it doesn't wrinkle, it needs more simmering time. This simple test ensures your jam will set properly and have that lovely, spreadable texture we all crave.
Beyond the wrinkle test, consider the “sheet test.” This involves dropping a small amount of jam onto a cold plate. If the jam sets into a solid sheet that doesn't run, it's ready. These tests ensure your jam isn't too runny or too thick. Remember to always sterilize your jars and lids before filling them with your precious jam. Proper sterilization is crucial for preventing mold and ensuring your jam stays fresh for as long as possible. Once filled, seal the jars tightly and let them cool completely before storing them in a cool, dark place. Your homemade DIY spearmint tea jams are now ready to be enjoyed!
Preserving and Storing Your Homemade DIY Spearmint Tea Jams
Preserving and Storing Your Homemade DIY Spearmint Tea Jams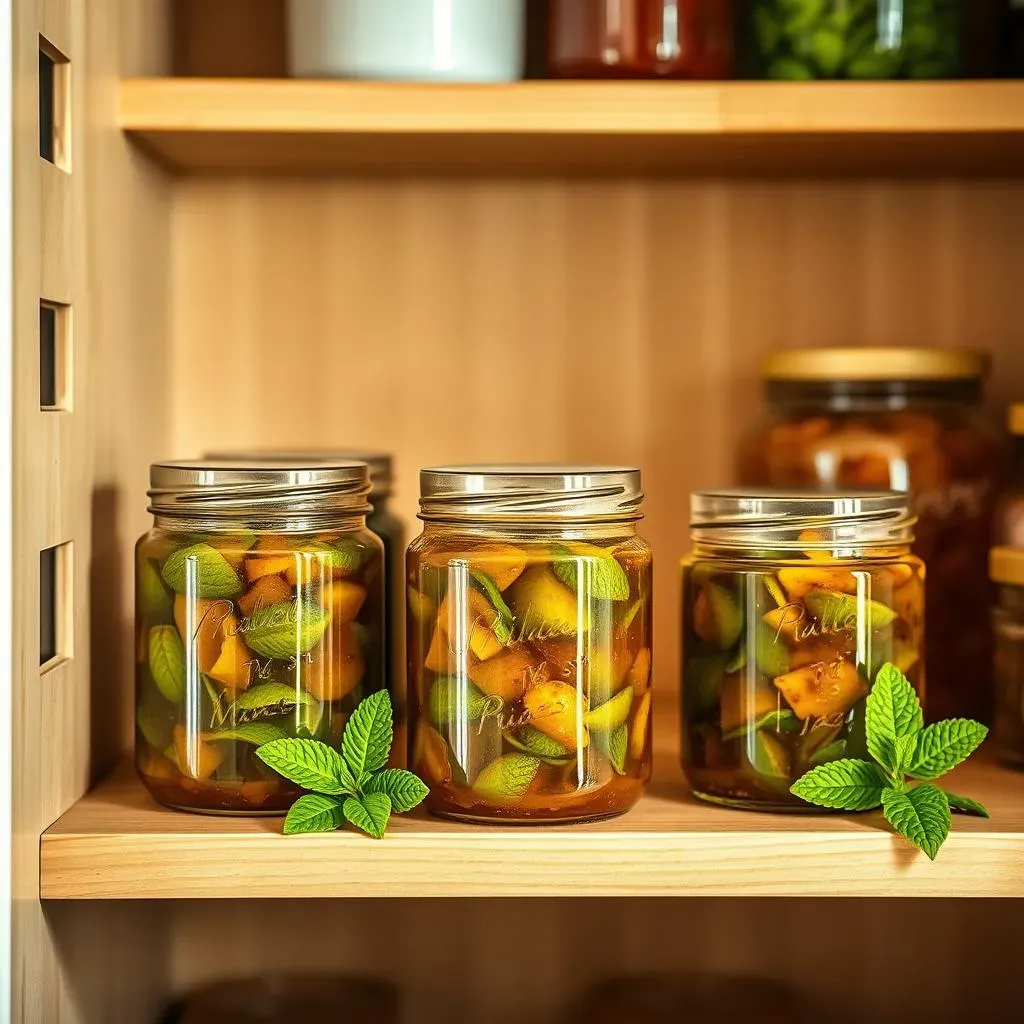
The Importance of Sterilization: A Germ-Free Guarantee
Before we even think about filling those jars, let's talk sterilization. This isn't just about making your jam look pretty; it's about safety! Unsterilized jars can harbor nasty bacteria and mold, leading to spoilage and, worse, potential illness. So, how do we make sure our jars are squeaky clean? The simplest method is to wash them thoroughly in hot, soapy water, then rinse them well. Next, place the jars and lids in a large pot, cover them with water, and bring the water to a rolling boil. Boil for at least 10 minutes to ensure complete sterilization. You can also sterilize in the dishwasher using the sanitize cycle. Once sterilized, carefully remove the jars and lids with tongs, placing them upside down on a clean towel to air dry. Don't touch the inside of the jar or the lid with your bare hands!
Think of sterilization as building a protective fortress around your delicious jam. It's the first line of defense against those pesky microorganisms that could ruin all your hard work. A little extra effort at this stage saves you a lot of heartache later. Remember, properly sterilized jars are crucial for a long shelf life and safe consumption. Don’t skip this step!
Sterilization Method | Process | Notes |
|---|---|---|
Boiling Water Bath | Wash jars, boil in water for 10 minutes | Use tongs to remove jars |
Dishwasher Sanitize Cycle | Wash jars on sanitize cycle | Ensure cycle reaches high enough temperature |
Jarring and Sealing: The Final Touches
With your sterilized jars ready, carefully ladle your hot jam into them, leaving about half an inch of headspace at the top. This allows for expansion during cooling and prevents the lids from popping off. Wipe the rims of the jars clean with a damp cloth to remove any sticky residue. This ensures a proper seal. Next, place the lids and rings onto the jars, tightening them fingertip-tight. Don't overtighten, or you could prevent proper sealing. Once all your jars are filled and sealed, place them in a large pot, cover them with water, and bring the water to a simmer. Process them in the simmering water bath for 10 minutes to create a vacuum seal, further ensuring their preservation. After processing, remove the jars, and let them cool completely. You should hear a satisfying "pop" sound as each jar seals.
This final step locks in freshness and flavor, creating a long-lasting seal that protects your jam from the outside world. Remember, the "pop" sound is your assurance that the jar has sealed properly. If a jar doesn't seal, don't worry – you can still store it in the refrigerator and consume it sooner rather than later. But aim for that satisfying "pop," it's the sound of success!
- Leave ½ inch headspace in jars.
- Wipe jar rims clean before sealing.
- Tighten lids fingertip-tight.
- Process in a simmering water bath for 10 minutes.
- Listen for the "pop" sound indicating a proper seal.
Storage and Shelf Life: Keeping Your Jam Fresh
Congratulations! You've successfully made your own batch of DIY spearmint tea jams. Now, let’s ensure they stay delicious for as long as possible. Once your jars have completely cooled and sealed, store them in a cool, dark, and dry place. Avoid direct sunlight, as this can affect the color and flavor of your jam. A pantry or cupboard is ideal. Proper storage is crucial for maximizing the shelf life of your jam. Under ideal conditions, your homemade jam should last for up to a year, if not longer.
Remember, always check your jam before consuming it. Look for any signs of spoilage, such as mold, unusual discoloration, or a change in texture. If you notice anything suspicious, it's best to discard the jam. If stored properly, your DIY spearmint tea jams will reward you with their delightful flavor for many months to come. Enjoy your delicious creation!