Table of Contents
Ever dreamt of sipping a cup of tea made from your own garden, right on your balcony? Well, it's easier than you think! This article is all about "spearmint tea plant container gardening," and it will show you exactly how to grow your own fresh spearmint for delicious and healthy tea. We'll start with why growing spearmint in containers is such a great idea, especially if you're short on space. Then, we'll get our hands dirty by exploring the best pots and soils for your spearmint. Next, I'll walk you through the simple steps of planting and caring for your little green friend. Finally, the best part – we'll talk about harvesting those fragrant leaves and brewing the most amazing cup of homemade spearmint tea. So, if you're ready to transform your balcony into a mini tea garden, let's get started and make some magic happen!
Why Grow Spearmint for Tea in Containers?
Why Grow Spearmint for Tea in Containers?
The Space-Saving Solution
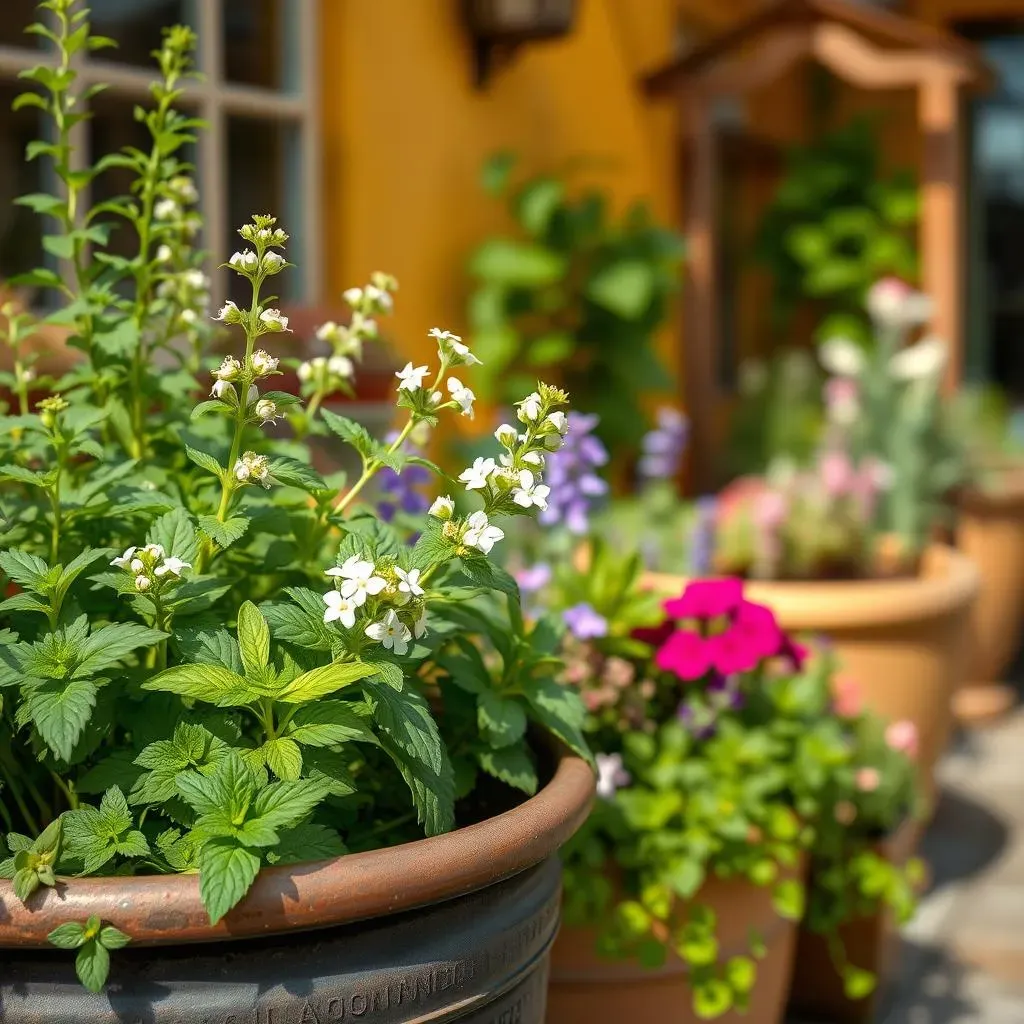
Let's face it, not everyone has a sprawling garden to play with. I live in a tiny apartment, and trust me, I get it! That's where container gardening comes to the rescue. Instead of needing a whole garden bed, you can grow spearmint right on your balcony, patio, or even a sunny windowsill. It's like having a mini herb garden wherever you want it. Plus, it's fantastic for us city dwellers who crave a touch of nature without the hassle of a big backyard. You can move the pot around to catch the best sunlight, or even bring it indoors during the colder months. It's all about convenience and flexibility!
Also, spearmint can be a bit of a bully in the garden, spreading its roots everywhere and taking over. By keeping it in a container, you're containing its enthusiasm and protecting your other plants from being overrun. It's like giving your spearmint its own little kingdom where it can rule without causing chaos. It's a win-win for everyone!
Fresh Tea at Your Fingertips
Imagine this: you're craving a refreshing cup of spearmint tea, and instead of running to the store, you can simply step outside and snip a few leaves from your own plant. The taste is a million times better than anything you'll find in a tea bag. It’s fresher, more fragrant, and oh-so-satisfying. There’s something incredibly special about drinking tea you’ve grown yourself, it feels rewarding. I love knowing exactly where my tea comes from and that it's free from any hidden additives.
Beyond just the taste, growing spearmint for tea is a really great way to connect with nature. It's a simple activity that can bring a lot of joy. You get to watch your plant grow, enjoy its lovely scent, and then, of course, savor the fruits (or should I say, leaves) of your labor. It's like having a little bit of the countryside right in your home. Plus, it’s a fantastic way to get some fresh air and sunshine if you keep your container outside.
Benefit | Description |
|---|---|
Space-Saving | Perfect for small balconies, patios, and windowsills. |
Control | Prevents spearmint from spreading uncontrollably. |
Freshness | Provides fresh, flavorful tea leaves whenever you want. |
Connection to Nature | Offers a simple way to engage with gardening. |
Choosing the Right Container and Soil for Your Spearmint Tea Plant
Choosing the Right Container and Soil for Your Spearmint Tea Plant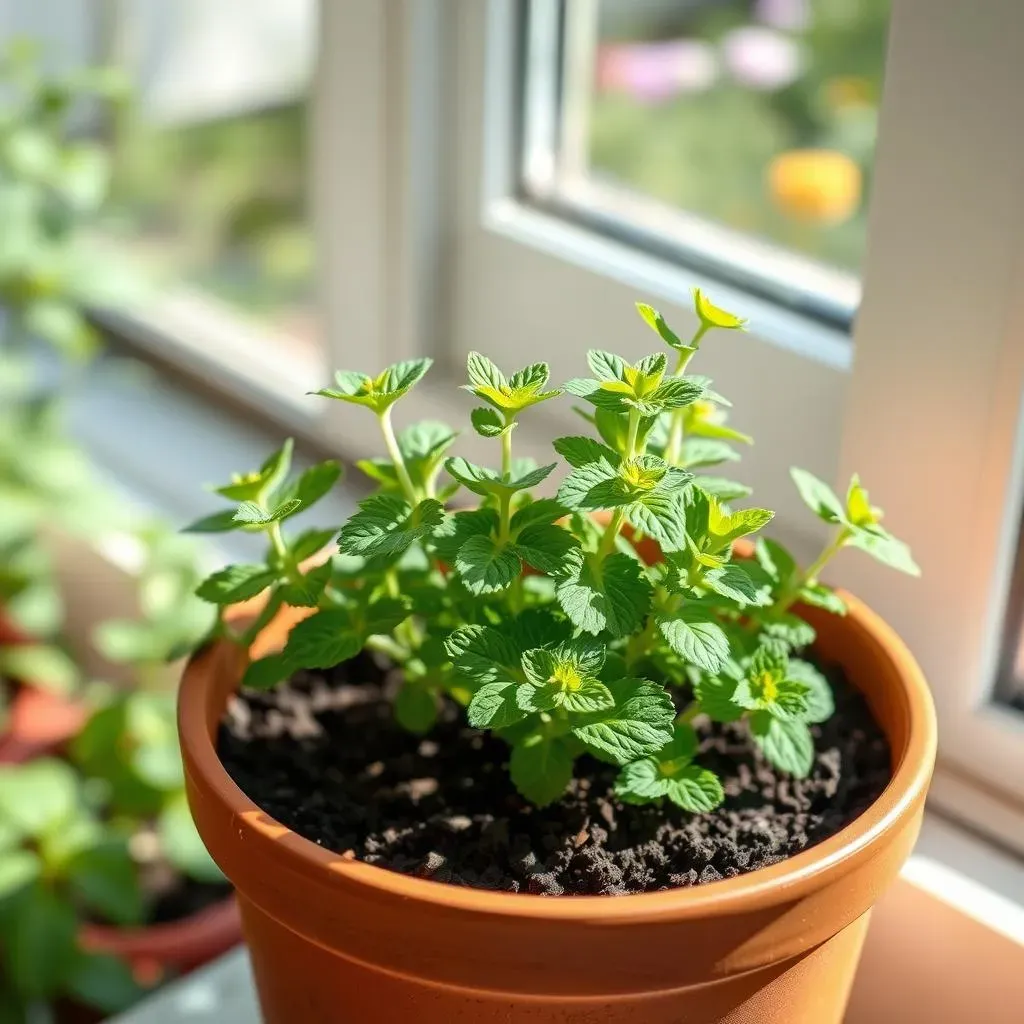
Picking the Perfect Pot
Okay, so you're ready to get your spearmint plant into its new home. It's not just about grabbing any old pot, though. Think of it like choosing a cozy house for your plant – you want it to be just right. First off, size matters. You'll want a pot that's at least 12 inches in diameter, and about the same in depth. This gives the roots plenty of room to stretch out and explore. Remember, spearmint likes to spread, so don’t skimp on space. Drainage is also a big deal. Make sure your pot has drainage holes at the bottom. Nobody likes soggy feet, and that includes your spearmint. If the roots sit in water, they'll start to rot, and that's a big no-no. Material-wise, terracotta pots are pretty great because they allow the soil to breathe, but plastic pots work just fine too, and they're often lighter and cheaper. It's really up to your own style and budget.
Now, let's talk about shape. While you can use any shape, I've found that a wider, shallower pot tends to work best for mint. It gives the roots more space to spread out horizontally, which is how they naturally grow. Think of it like this, a tall, narrow pot is like a tiny skyscraper, while a wider pot is like a cozy ranch house. Your spearmint will probably prefer the ranch house. Plus, a wider pot is less likely to tip over if you have it outside, especially if it gets a bit windy. Don't forget to consider the look of the pot, too. It should be something that you like seeing every day. After all, it's going to be part of your little indoor garden.
The Scoop on Soil
Alright, you've got your pot picked out, now it's time for the soil. Don't just grab any dirt from your backyard, spearmint likes a specific type of soil. You want something that’s well-draining, yet still holds some moisture. A good quality potting mix will do the trick. Avoid using garden soil as it can be too heavy and compact in a container. Think of potting mix as the perfect bed for your plant, it should be light, fluffy, and allow for air circulation. You can find it at most gardening centers and even some grocery stores. Look for a mix that contains things like peat moss, perlite, and vermiculite. These ingredients help to keep the soil loose and airy, and they help with drainage.
I like to add a little bit of compost to my potting mix, it adds extra nutrients and helps to keep the soil healthy. It's like giving your plant a multivitamin. Just mix it in well before you plant your spearmint. Also, keep in mind that over time the nutrients in the soil will get used up, so you might need to add some fertilizer every now and then. But for now, let's keep it simple and just focus on getting the right soil mix. Remember, the soil is the foundation of your plant's growth, so it's worth taking the time to get it right. Your spearmint will thank you for it!
Pot Characteristic | Recommendation |
|---|---|
Size | At least 12 inches in diameter and depth |
Drainage | Must have drainage holes |
Material | Terracotta or plastic |
Shape | Wider, shallower pots are better |
Soil Characteristic | Recommendation |
|---|---|
Type | Well-draining potting mix |
Ingredients | Peat moss, perlite, vermiculite |
Additives | Compost for extra nutrients |
Planting and Caring for Your Spearmint Tea Plant in a Container
Planting and Caring for Your Spearmint Tea Plant in a Container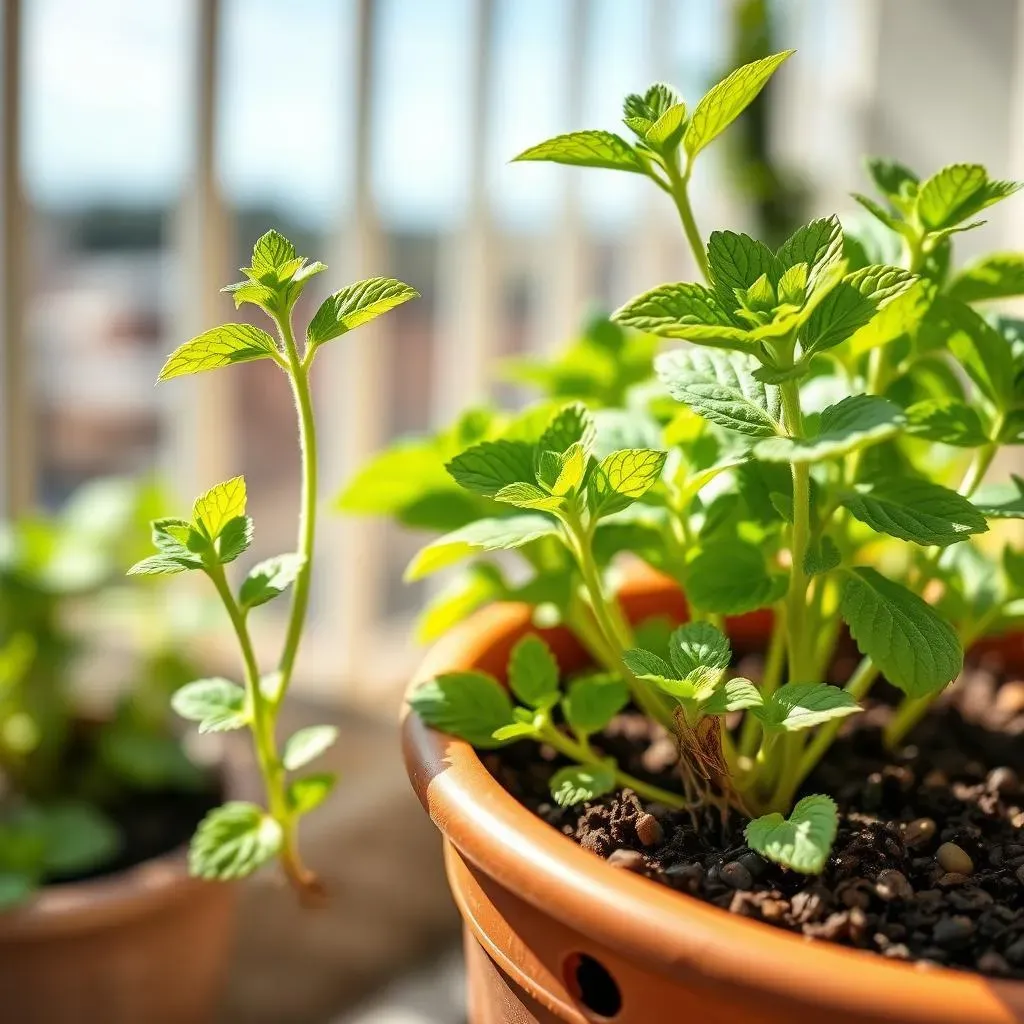
Getting Your Spearmint Settled
Okay, so you've got your pot and your soil, now comes the fun part: planting! If you’re starting with a young spearmint plant from a nursery, gently remove it from its container. Loosen the roots a bit with your fingers, this encourages them to spread out in their new home. Dig a hole in the center of your pot that’s big enough to accommodate the root ball, place the plant in the hole, making sure the top of the root ball is level with the soil surface. You don't want to bury the stem, just the roots. Fill in around the plant with your potting mix, gently patting it down to secure it. Don't pack it too tightly, you want the soil to still be nice and airy. Give it a good watering right after planting. This helps the soil settle and gets your plant off to a good start. If you're using seeds, scatter them on the surface of your soil, lightly cover them with a thin layer of soil, and keep the soil moist until they sprout. It's like tucking them into bed, ready for a good night's sleep before they start their journey.
Now, if you're using a cutting from a friend, that's a bit different. Take a healthy stem about 4-6 inches long, remove the lower leaves, and stick it directly into the soil. Keep the soil moist, and in a few weeks, roots should start to form. It's like magic, watching a little stick turn into a new plant! Once your spearmint is planted, you need to think about where to put it. Spearmint loves sunlight, so find a spot that gets at least 6 hours of sun each day. A south-facing balcony or a sunny windowsill is perfect. However, if you live somewhere extremely hot, some afternoon shade can be beneficial, preventing it from getting scorched. It's like giving your plant a nice sunbath, but making sure it doesn't get too much of a tan. Remember, a happy plant is a healthy plant and it will reward you with tons of delicious leaves.
Planting Method | Instructions |
|---|---|
Young Plant | Remove from container, loosen roots, plant at soil level. |
Seeds | Scatter on soil, lightly cover, keep moist. |
Cuttings | Take 4-6 inch stem, remove lower leaves, insert into soil. |
Keeping Your Spearmint Happy
Alright, now that your spearmint is settled, let's talk about keeping it happy and thriving. Watering is key, especially when it’s in a container. Because pots dry out faster than garden soil, you’ll need to water your spearmint regularly. Stick your finger about an inch into the soil – if it feels dry, it’s time to water. When you water, make sure you soak the soil thoroughly, until you see water coming out of the drainage holes. Avoid overwatering, though, because soggy soil can lead to root rot. It's all about finding the right balance – not too wet, not too dry. Think of it like giving your plant a nice, refreshing drink, not a bath.
Feeding your spearmint is also important. During the growing season, you can give it a little boost with some liquid fertilizer every few weeks. But don't overdo it, too much fertilizer can burn the roots. Also, don't forget to give your plant a little haircut every now and then. Pinching off the tips of the stems encourages it to grow bushier and prevents it from getting too leggy. It's like giving your spearmint a spa day, it helps to keep it looking its best. Finally, keep an eye out for any pests or diseases. If you notice anything unusual, take action right away. Early detection is key to keeping your plant healthy. Remember, a little love and attention goes a long way in keeping your spearmint happy and healthy, ready to give you an abundance of delicious leaves for your tea.
"The best fertilizer is the gardener's shadow." - An old gardening proverb.
- Water when the top inch of soil is dry.
- Use liquid fertilizer every few weeks during the growing season.
- Pinch off stem tips to encourage bushier growth.
- Watch out for pests and diseases.
Harvesting, Brewing, and Enjoying Your Homegrown Spearmint Tea
Harvesting, Brewing, and Enjoying Your Homegrown Spearmint Tea
Time to Harvest!
Alright, your spearmint plant is looking lush and healthy, it's time to harvest those beautiful leaves! You can start harvesting once your plant has a good amount of growth. The best time to harvest is in the morning, after the dew has dried but before the sun gets too strong. This is when the leaves have the most flavor. Just grab a pair of clean scissors or shears, and snip off the stems just above a leaf node. Don't be shy, you can harvest quite a bit without harming the plant. In fact, regular harvesting encourages it to grow even more, so it's a win-win! You can harvest just a few leaves at a time, or a whole bunch, depending on how much tea you want to make. I love the feeling of harvesting my own herbs, it's like collecting little treasures from my garden. And the smell? Oh my, it's absolutely divine!
Once you've harvested your leaves, you can use them fresh, or you can dry them for later use. To dry them, simply spread them out on a tray in a cool, dark, and well-ventilated area. It usually takes a few days for them to dry completely. You can also use a dehydrator if you have one. Once they’re dry, store them in an airtight container. Dried spearmint leaves will last for quite a while, so you can enjoy your homegrown tea all year round. I like to keep a jar of dried spearmint leaves in my kitchen, ready for a quick cup of tea whenever I need it. It’s like having a little piece of summer sunshine stored away for those cold winter days.
Brewing the Perfect Cup
Now for the moment you've been waiting for: brewing your very own spearmint tea! There are a few ways to do it, but I'll share my favorite method. Simply take about 10-15 fresh spearmint leaves, or about 1-2 teaspoons of dried leaves, and place them in a teapot or a mug. Pour hot water over the leaves, making sure they’re fully submerged. Let it steep for about 5-7 minutes, or longer if you like a stronger flavor. The longer it steeps, the more intense the taste will be. I love watching the water turn a beautiful golden color as the tea brews. It's like a little bit of magic happening right in front of my eyes. Once it’s steeped, strain the tea into your cup, and voila! You have the most amazing, fragrant, and refreshing cup of spearmint tea.
You can enjoy your spearmint tea as is, or you can add a little bit of honey or lemon for extra flavor. I also love to add a slice of ginger sometimes, it gives it a nice little kick. Spearmint tea is naturally caffeine-free, which makes it a great choice for a relaxing evening drink. It’s also known for its calming properties, and its ability to aid digestion. So, not only does it taste great, it’s also good for you! I really enjoy sitting outside on my balcony, sipping a warm cup of my homegrown spearmint tea, it's one of my favorite ways to unwind after a long day. And the best part? It all started with a little seed (or cutting) and a simple pot. It’s truly amazing how much joy a little plant can bring.
Harvesting Step | Description |
|---|---|
Timing | Morning, after dew dries. |
Method | Snip stems above leaf nodes. |
Drying | Spread on tray, cool, dark, ventilated area. |
Storage | Airtight container. |
Brewing Step | Description |
|---|---|
Leaves | 10-15 fresh or 1-2 tsp dried. |
Water | Pour hot water over leaves. |
Steeping | 5-7 minutes or longer. |
Enjoy | Strain and serve. |