Table of Contents
Ready to transform your garden into a fragrant oasis of refreshing spearmint tea? This comprehensive guide dives into the art of spearmint tea plant garden maintenance, ensuring a bountiful harvest of this versatile herb. We'll walk you through every step, from selecting the perfect planting spot and nurturing your young plants to mastering pest control and preserving your precious leaves for year-round enjoyment. Forget battling wilting leaves and disappointing harvests – we'll equip you with the knowledge to cultivate a thriving spearmint tea garden. Learn the secrets to successful spearmint tea plant garden maintenance, ensuring your teacup is always brimming with the vibrant flavor of homegrown herbs. Get ready to experience the satisfaction of harvesting your own delicious spearmint, transforming your garden into a personal tea plantation! This guide covers planting techniques, essential maintenance practices, effective pest management, and simple preserving methods. Let's get started on your journey to the perfect cup of homemade spearmint tea.
Planting Your Spearmint Tea Plant: From Seed to Sapling
Planting Your Spearmint Tea Plant: From Seed to Sapling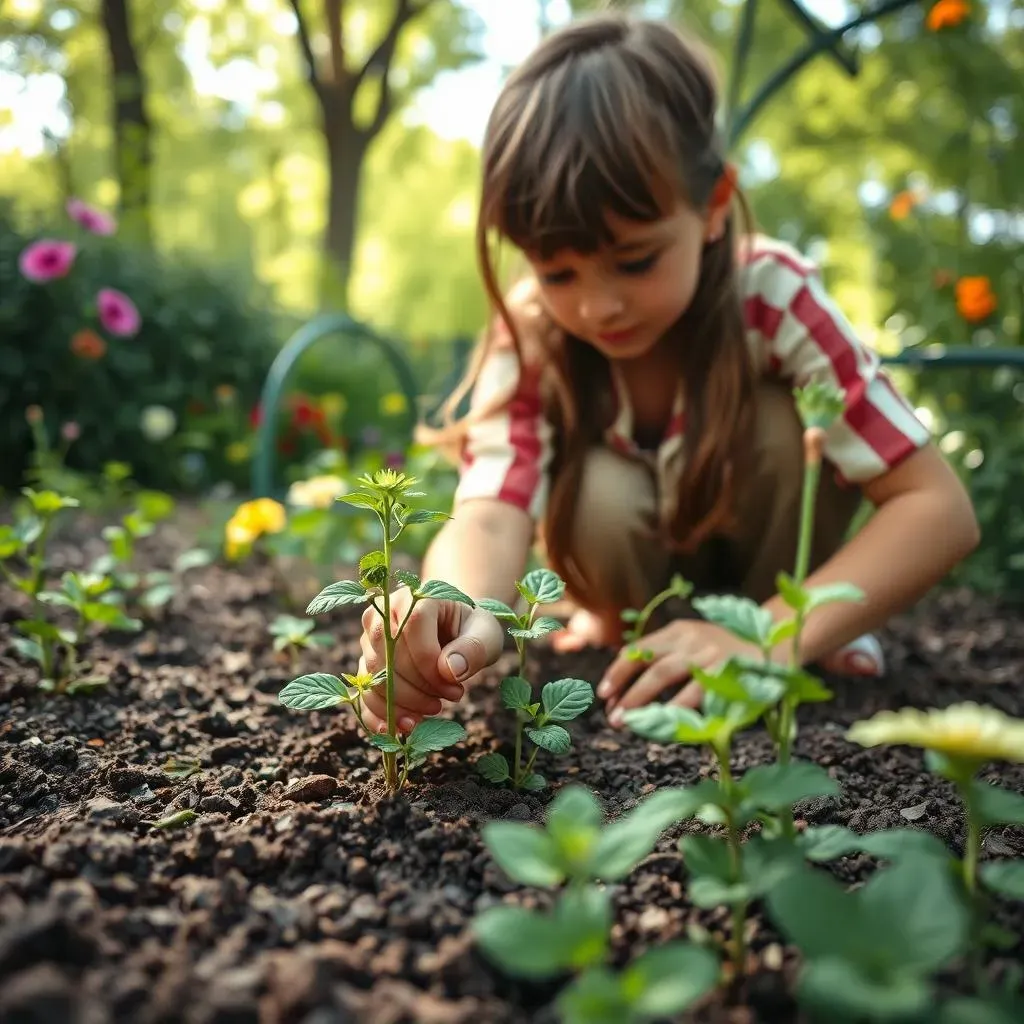
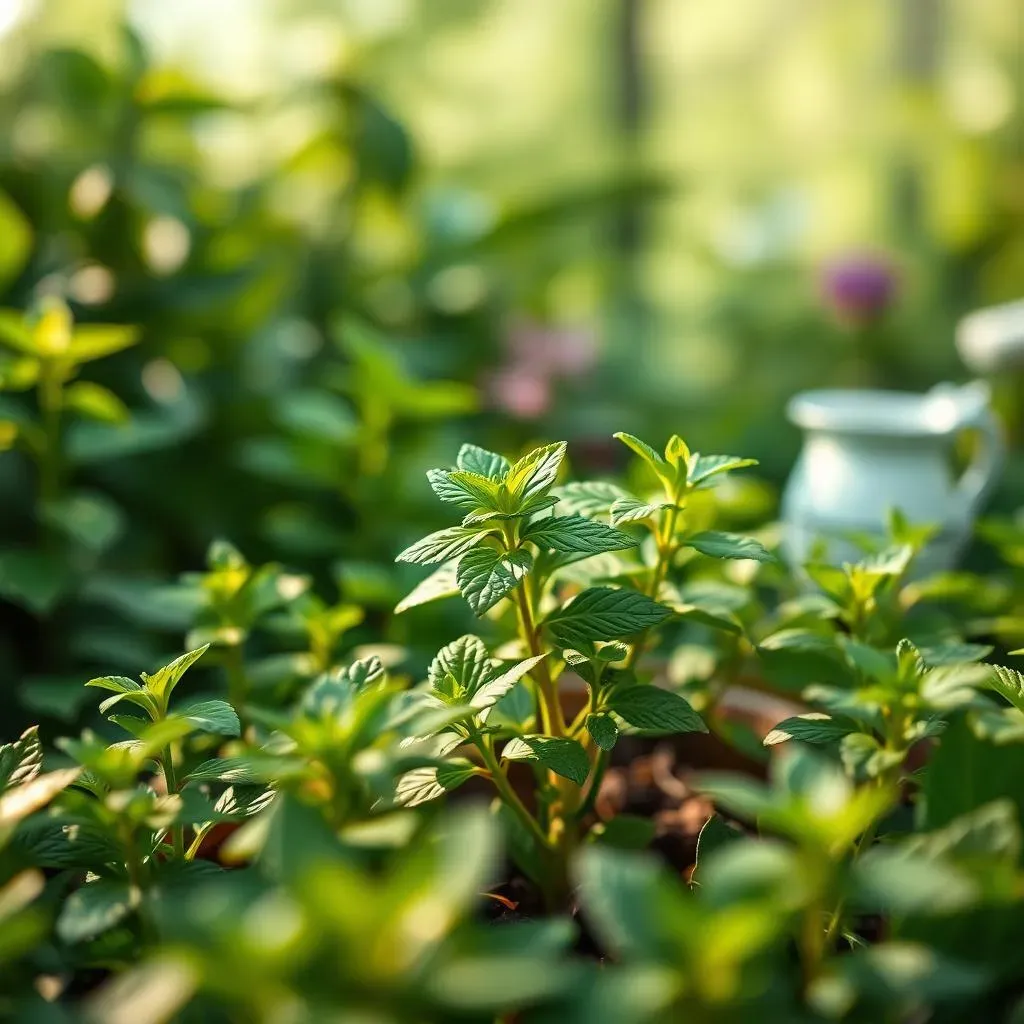
Choosing Your Spearmint and Planting Location
So, you're ready to embark on your spearmint tea journey? Fantastic! First things first: decide whether you're starting from seed or a pre-grown plant. Seeds are cheaper, offering a sense of accomplishment as you nurture them from tiny specks to lush plants. However, they require more patience. Pre-grown plants offer a head start, yielding quicker results. Consider your gardening experience and time constraints when choosing your starting point. Next, scout the perfect spot. Spearmint loves sunshine but appreciates some afternoon shade in scorching climates. Aim for at least four hours of direct sunlight daily. The soil should be well-draining, fertile, and slightly acidic (pH 6.0-7.5). Poor drainage leads to root rot, a spearmint's worst nightmare!
Remember, spearmint is a vigorous grower, a bit of a land grabber, really. It spreads rapidly through underground runners (rhizomes). To prevent it from taking over your garden, consider these options: planting it in a container (a large one!), confining it within a barrier sunk into the ground (like a sturdy plastic tub), or selecting a less invasive cultivar.
Starting Method | Pros | Cons |
|---|---|---|
Seeds | Cost-effective, rewarding | Slower growth, requires more care |
Pre-grown Plants | Faster growth, easier to manage | More expensive |
Planting Your Spearmint
Whether you're planting seeds or seedlings, preparation is key. For seeds, sow them about ¼ inch deep and keep the soil consistently moist until germination. For seedlings, gently loosen the roots before planting to encourage healthy growth. Space your plants 12-18 inches apart to allow for adequate growth and air circulation. After planting, water thoroughly but avoid overwatering, which can lead to fungal problems. Mulch around the plants to retain moisture and suppress weeds. A layer of compost added to the soil before planting provides essential nutrients for healthy growth. Keep an eye on those little guys! Regular watering is important, especially during dry spells.
"The best time to plant a tree was twenty years ago. The second best time is today." – Chinese Proverb. This applies equally to spearmint!
- Choose a sunny location with well-draining soil.
- Space plants 12-18 inches apart.
- Water thoroughly after planting.
- Mulch to retain moisture and suppress weeds.
Spearmint Tea Plant Garden Maintenance: Watering, Weeding, and Fertilizing
Spearmint Tea Plant Garden Maintenance: Watering, Weeding, and Fertilizing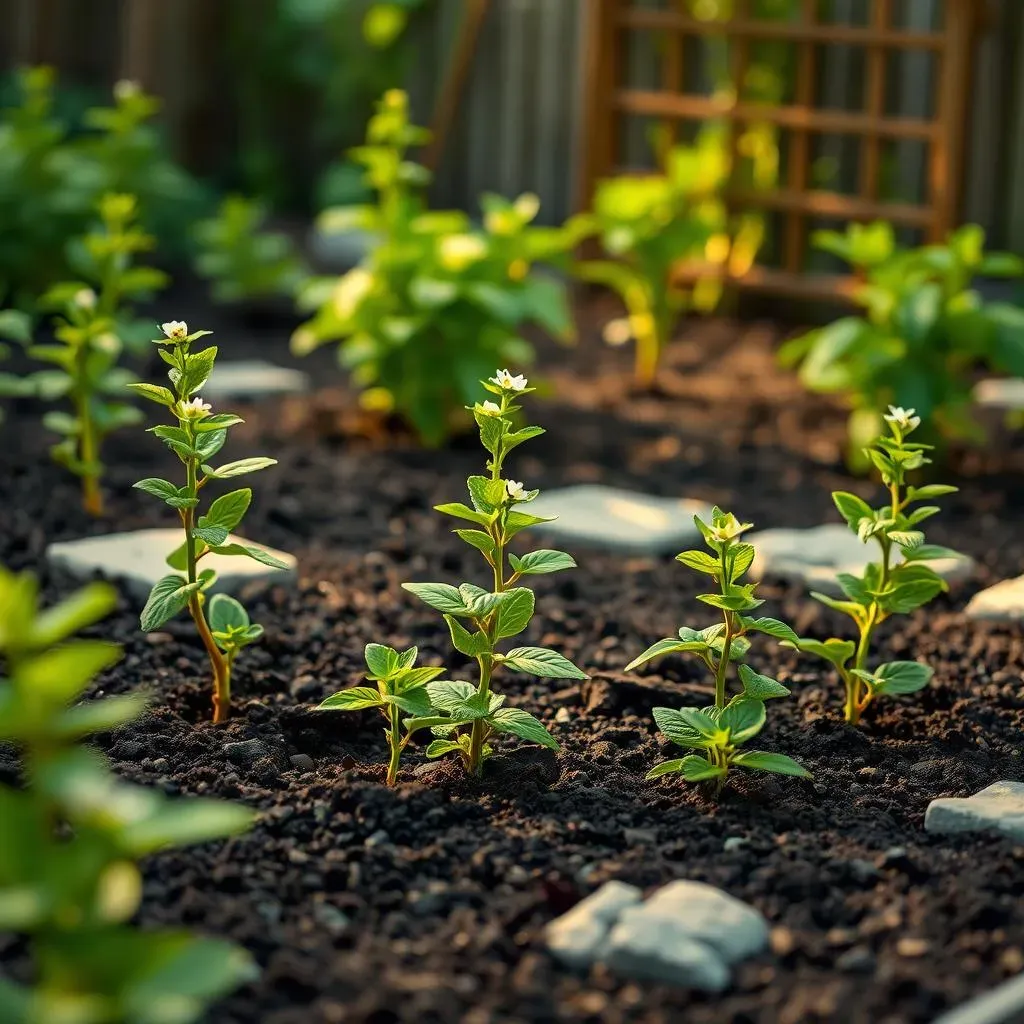
The Watering Wisdom
Alright, let's talk hydration! Consistent moisture is key to happy spearmint. Aim for evenly moist soil, not soggy. Water deeply and less frequently, encouraging deep root growth. The frequency depends on your climate and soil type – a sandy soil dries out faster than clay. Feel the soil before watering; if the top inch feels dry, it's time to water. During hot, dry spells, you might need to water daily, especially for plants in containers. Overwatering is a common mistake, leading to root rot and a sad, wilting spearmint. Remember, it's better to underwater slightly than overwater.
Think of your spearmint as a thirsty friend – give it a good drink when it needs it, but don't drown it! A soaker hose or drip irrigation system is a great way to provide consistent moisture without overwatering. Avoid overhead watering, which can lead to fungal diseases. In containers, check the drainage holes regularly to ensure they aren't clogged.
- Water deeply and less frequently.
- Check soil moisture before watering.
- Use soaker hoses or drip irrigation.
- Avoid overhead watering.
Weeding and Feeding Your Spearmint
Weeds are the bane of any gardener's existence, competing with your spearmint for precious resources. Regularly weed around your plants, removing any unwanted vegetation. Mulching helps suppress weeds, reducing the need for frequent weeding. A layer of organic mulch, such as straw or wood chips, also helps retain soil moisture and regulate temperature. Now, let's talk food! Spearmint isn't a heavy feeder, but a little boost can go a long way. Feed your plants every 4-6 weeks during the growing season with a balanced, slow-release fertilizer. Avoid over-fertilizing, which can burn the plants. A compost tea or diluted liquid fertilizer is a gentler option.
Remember, happy plants produce more leaves for your tea! Regular weeding and fertilization will promote vigorous growth, leading to a more abundant harvest. If you notice yellowing leaves, it could indicate a nutrient deficiency; consider a soil test to determine the best course of action. A healthy soil is the foundation of a thriving spearmint plant.
Task | Frequency | Method |
|---|---|---|
Weeding | As needed | Hand weeding or hoeing |
Fertilizing | Every 4-6 weeks | Balanced, slow-release fertilizer or compost tea |
Pest and Disease Control for Your Spearmint Tea Plant
Pest and Disease Control for Your Spearmint Tea Plant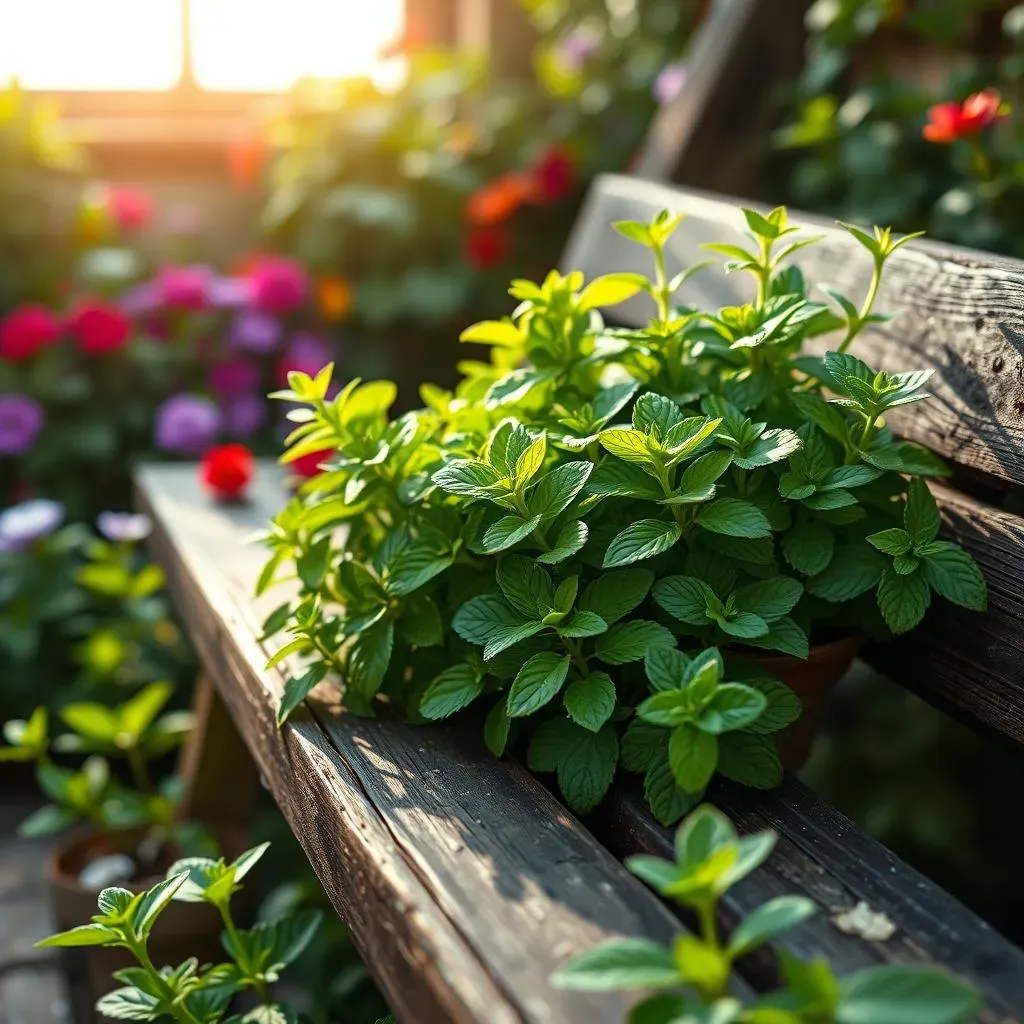
Identifying and Addressing Common Pests
Let's face it: pests are a reality of gardening. Spearmint, with its delicious leaves, is a tempting target for various critters. Common culprits include aphids (tiny, sap-sucking insects), spider mites (microscopic pests that create webbing), and whiteflies (small, white, flying insects). Regularly inspect your plants for signs of infestation, such as yellowing leaves, distorted growth, or the presence of insects themselves. Early detection is crucial for effective pest control. A magnifying glass can be your best friend here!
For minor infestations, a strong spray of water can dislodge many pests. Neem oil, a natural insecticide derived from the neem tree, is a safe and effective option for controlling aphids, spider mites, and other soft-bodied insects. Always follow the product instructions carefully. For more severe infestations, consider insecticidal soap or consult a local gardening expert for advice on appropriate pesticides. Remember, prevention is better than cure; healthy plants are less susceptible to pest attacks.
- Regularly inspect plants for pests.
- Use a strong spray of water for minor infestations.
- Consider neem oil, insecticidal soap, or other appropriate pesticides.
Dealing with Diseases
While generally hardy, spearmint can succumb to diseases like powdery mildew (a white, powdery coating on leaves) and downy mildew (yellowish or brown spots on leaves). These fungal diseases thrive in humid conditions and can significantly impact plant health. Good air circulation is crucial to prevent these diseases. Space plants adequately, avoid overhead watering, and prune to improve airflow. If you notice signs of disease, remove infected leaves promptly and dispose of them properly to prevent the spread of the disease.
For minor infections, a baking soda solution (1 teaspoon baking soda, ½ teaspoon liquid soap, 1 gallon of water) can be effective. For more severe cases, consider using a fungicide specifically designed for powdery or downy mildew. Always follow the product instructions carefully and consider consulting a gardening expert for guidance. Prevention is your best bet; providing optimal growing conditions reduces the likelihood of disease.
Disease | Symptoms | Control Measures |
|---|---|---|
Powdery Mildew | White powdery coating on leaves | Improve air circulation, baking soda solution, fungicide |
Downy Mildew | Yellowish or brown spots on leaves | Improve air circulation, fungicide |
Prevention is Key: Proactive Pest and Disease Management
The best approach to pest and disease control is a proactive one. Start with healthy plants grown in well-draining soil. Proper watering, fertilization, and mulching contribute to strong, resilient plants less susceptible to pests and diseases. Regularly inspect your plants for any signs of problems, acting swiftly if you detect anything amiss. This early intervention can prevent minor issues from escalating into major problems. Remember, a healthy plant is a happy plant, and a happy plant is less likely to be bothered by pests or diseases.
"Prevention is the best cure." This age-old saying holds true for your spearmint tea plant garden. By creating a healthy environment and regularly monitoring your plants, you can minimize the risk of pest and disease problems. A little preventative care goes a long way in maintaining a thriving and productive spearmint patch.
- Maintain good air circulation around plants.
- Water at the base of plants, avoiding overhead watering.
- Remove and destroy infected leaves promptly.
- Practice crop rotation to reduce disease buildup in the soil.
Harvesting and Preserving Your Spearmint Tea Plant for YearRound Enjoyment
Harvesting and Preserving Your Spearmint Tea Plant for YearRound Enjoyment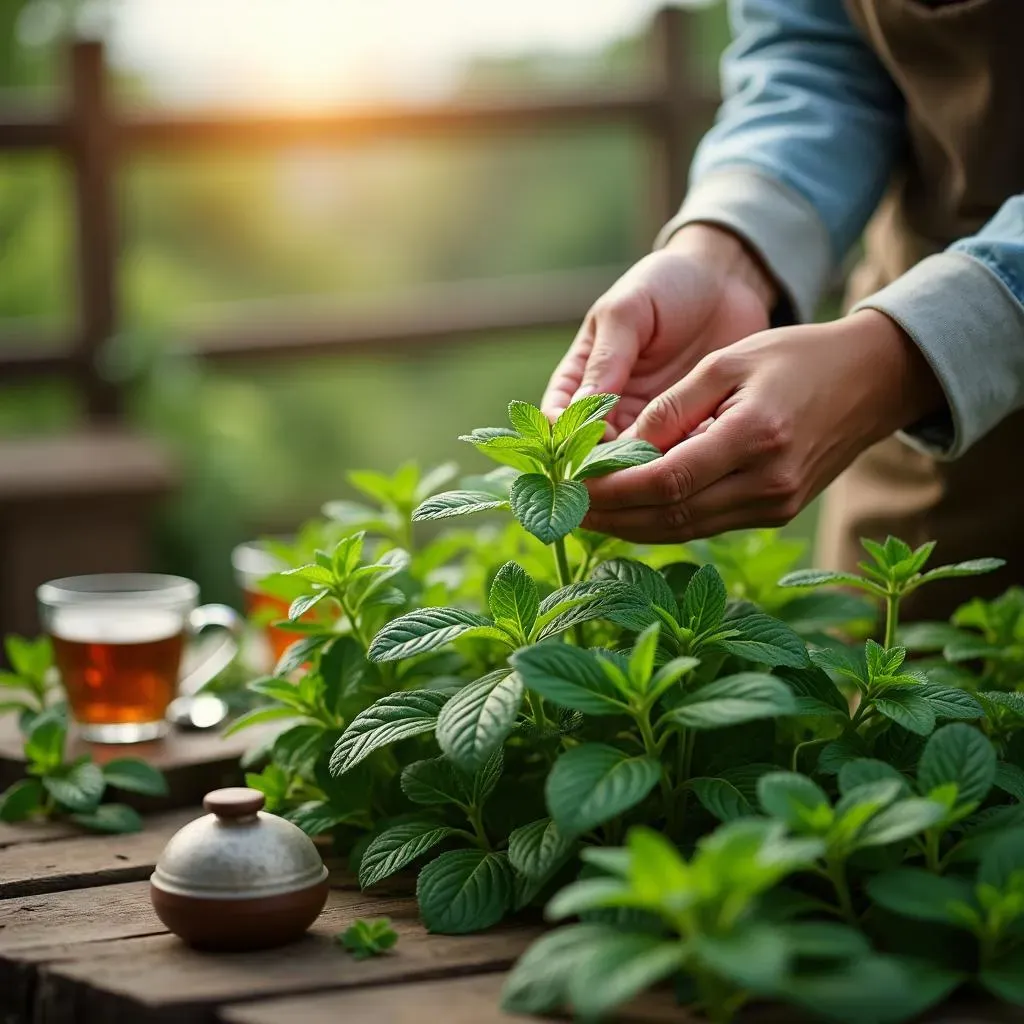
The Art of Harvesting
Ah, the moment of truth! Harvesting your spearmint is almost as rewarding as sipping the tea it makes. The best time to harvest is in the morning, after the dew has dried but before the midday sun gets too intense. This ensures the leaves are at their most flavorful and aromatic. Use sharp scissors or pruning shears to harvest, cutting the stems about 2-3 inches above the ground. Don't be shy; regular harvesting encourages bushier growth and a more abundant yield. Remember to leave some leaves behind to allow the plant to continue growing. You don't want to completely strip your plant bare!
For a continuous supply of fresh leaves, harvest selectively. Cut only what you need, leaving plenty of growth for the plant to recover. Think of it as a sustainable harvest – taking just enough to allow the plant to flourish. Consider harvesting different parts of the plant at different times to promote balanced growth. Don't forget to admire your handiwork! Those fragrant leaves are the fruits of your labor.
- Harvest in the morning after the dew has dried.
- Use sharp scissors or pruning shears.
- Cut stems 2-3 inches above the ground.
- Harvest selectively to promote continued growth.
Preservation Techniques: Keeping the Flavor Alive
Now that you've harvested your bounty, let's talk preservation. Fresh spearmint is delightful, but preserving it allows you to enjoy your homegrown tea year-round. The simplest method is air drying. Bundle the harvested stems loosely and hang them upside down in a cool, dark, and well-ventilated area. Once completely dry (usually 7-10 days), crumble the leaves and store them in airtight containers in a cool, dark, and dry place. This method preserves the flavor and aroma remarkably well.
Freezing is another excellent option. Wash and thoroughly dry the leaves before placing them in freezer bags or airtight containers. Freezing preserves the leaves' color and flavor, making them perfect for quick additions to your tea. You can also freeze the leaves in ice cube trays with water to create convenient ice cubes for iced tea. Experiment with both methods to find what works best for you and your lifestyle. Proper preservation ensures you can savor the taste of your garden all year long.
Preservation Method | Pros | Cons |
|---|---|---|
Air Drying | Simple, preserves flavor and aroma | Slower process |
Freezing | Quick, preserves color and flavor | Requires freezer space |