Table of Contents
Ready to brew the most amazing spearmint tea imaginable? The secret isn't just the leaves, it's the soil! This comprehensive guide dives into spearmint tea plant garden soil preparation, showing you how to cultivate a thriving, aromatic spearmint patch. We'll explore the ideal soil composition for your spearmint, guiding you through selecting the perfect spot, preparing your garden bed, and planting your spearmint for optimal growth. Learn how to address common soil problems and ensure your plants flourish. We’ll cover everything from choosing the right soil type and amending it with organic matter to the proper planting techniques for a successful harvest. Get ready to transform your garden into a fragrant oasis, producing enough delicious spearmint for countless cups of refreshing tea. Let's get started on your journey to perfect spearmint tea plant garden soil preparation!
Choosing the Right Soil for Your Spearmint Tea Plant
Choosing the Right Soil for Your Spearmint Tea Plant
Soil Type: The Foundation for Flavor
Spearmint, like a picky eater, prefers specific soil conditions to thrive. It craves well-draining soil that's rich in organic matter. Think of it like this: too much water, and your spearmint drowns; too little, and it shrivels. The perfect balance allows for consistent moisture without sogginess. Sandy loam or loamy soil is ideal—it's like Goldilocks' porridge, just right! Avoid heavy clay soils, which retain too much water, leading to root rot. A well-draining soil ensures your spearmint's roots can breathe and access the nutrients they need to produce those delicious, flavorful leaves.
Soil Type | Suitable for Spearmint? | Why? |
|---|---|---|
Sandy Loam | Yes | Excellent drainage, good aeration |
Loamy Soil | Yes | Retains moisture well, rich in nutrients |
Clay Soil | No | Poor drainage, leads to root rot |
pH Level: The Acid Test
Just as Goldilocks needed her porridge to be just the right temperature, your spearmint needs its soil to be just the right acidity. Spearmint prefers a slightly acidic to neutral pH level, ideally between 6.0 and 7.5. You can test your soil's pH using a simple home kit available at most garden centers. If your soil is too acidic (below 6.0), you can amend it with lime. Conversely, if it's too alkaline (above 7.5), add some organic matter like peat moss to lower the pH. Getting the pH right ensures your spearmint can efficiently absorb nutrients from the soil, resulting in healthy growth and abundant leaves for your tea.
- Test your soil's pH before planting.
- Amend soil with lime to raise pH.
- Amend soil with peat moss to lower pH.
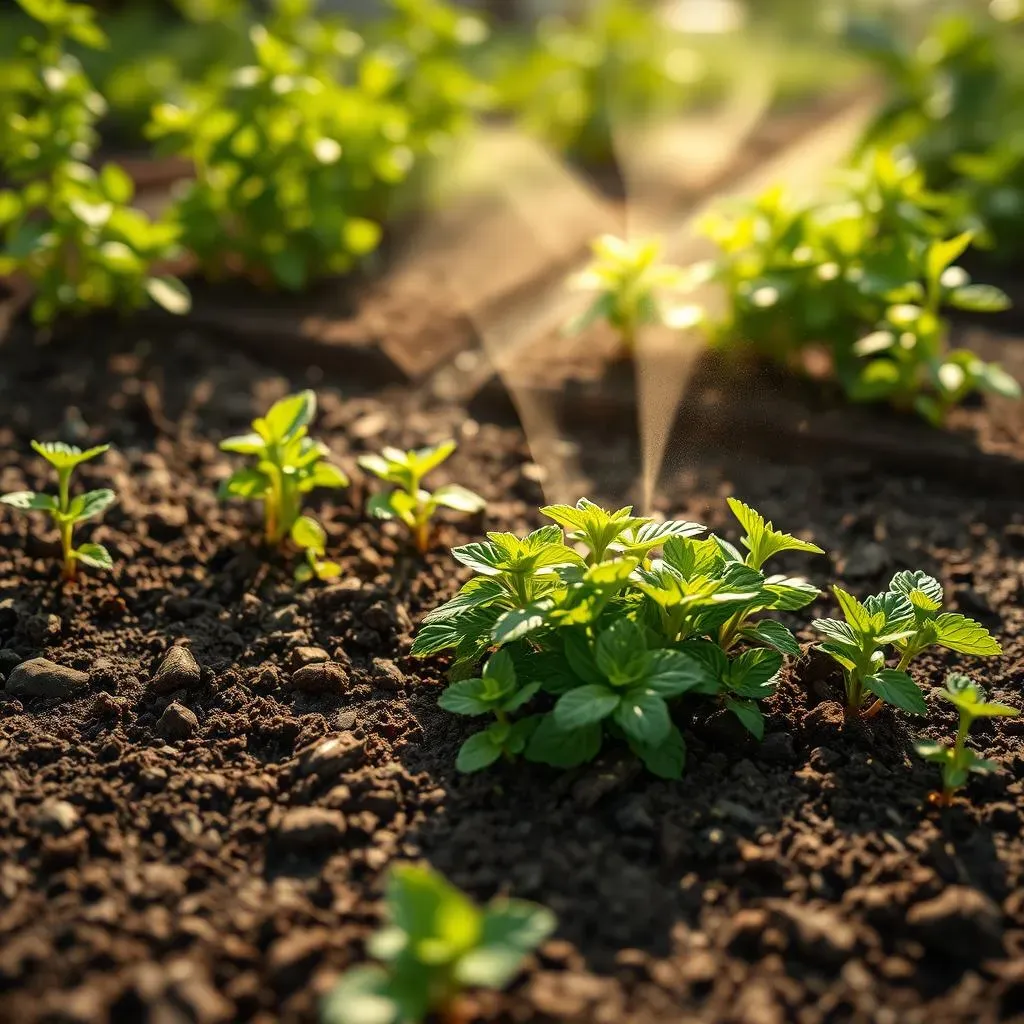
Preparing Your Garden Bed for Spearmint Tea Plant Growth
Preparing Your Garden Bed for Spearmint Tea Plant Growth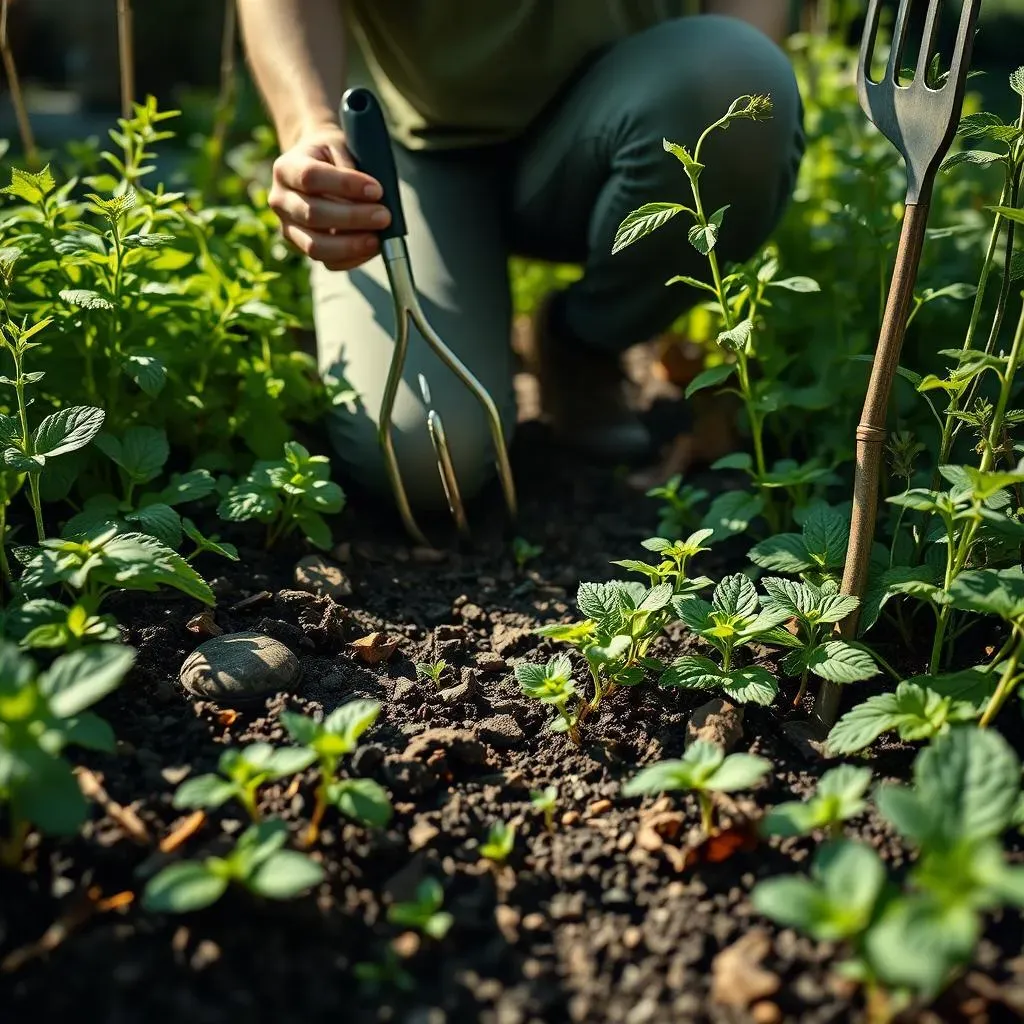
Site Selection: Sun, Shade, and Spearmint's Sweet Spot
Alright, so you've got your perfect soil mix sorted. Now, let's talk about where to put your spearmint. Spearmint loves a good balance – not too much sun, not too much shade. Think of it as a Goldilocks situation again! Aim for a location that gets at least four to six hours of sunlight daily, but also offers some afternoon shade, especially in hotter climates. Too much sun will scorch the leaves, and too little will result in weak, leggy growth. A spot with some protection from strong winds is also a good idea. Remember, happy plants make happy tea!
- Partial sun (4-6 hours) is ideal.
- Afternoon shade is beneficial in hot climates.
- Protect from strong winds.
Garden Bed Preparation: Getting Your Hands Dirty
Before you even think about planting, you need to prepare your garden bed. This isn’t just about throwing some seeds in the ground; it's about setting the stage for success. Start by clearing the area of any weeds, rocks, or debris. Then, loosen the soil to a depth of about 6-8 inches using a garden fork or tiller. This allows for better root penetration and aeration. Once the soil is loose, incorporate your prepared soil mix, gently mixing it into the existing soil. This ensures a consistent growing environment for your spearmint. Don't forget to water the area thoroughly after preparing the bed to settle the soil and create a moist environment for planting.
Preparation Step | Action | Why It's Important |
|---|---|---|
Weed Removal | Clear area of weeds, rocks, debris | Prevents competition for nutrients and space |
Soil Loosening | Loosen soil to 6-8 inches deep | Improves aeration and root penetration |
Soil Amendment | Mix prepared soil mix into existing soil | Creates consistent growing environment |
Watering | Thoroughly water prepared bed | Settles soil, creates moist environment |
Planting and Maintaining Your Spearmint Tea Plant in Optimal Soil
Planting and Maintaining Your Spearmint Tea Plant in Optimal Soil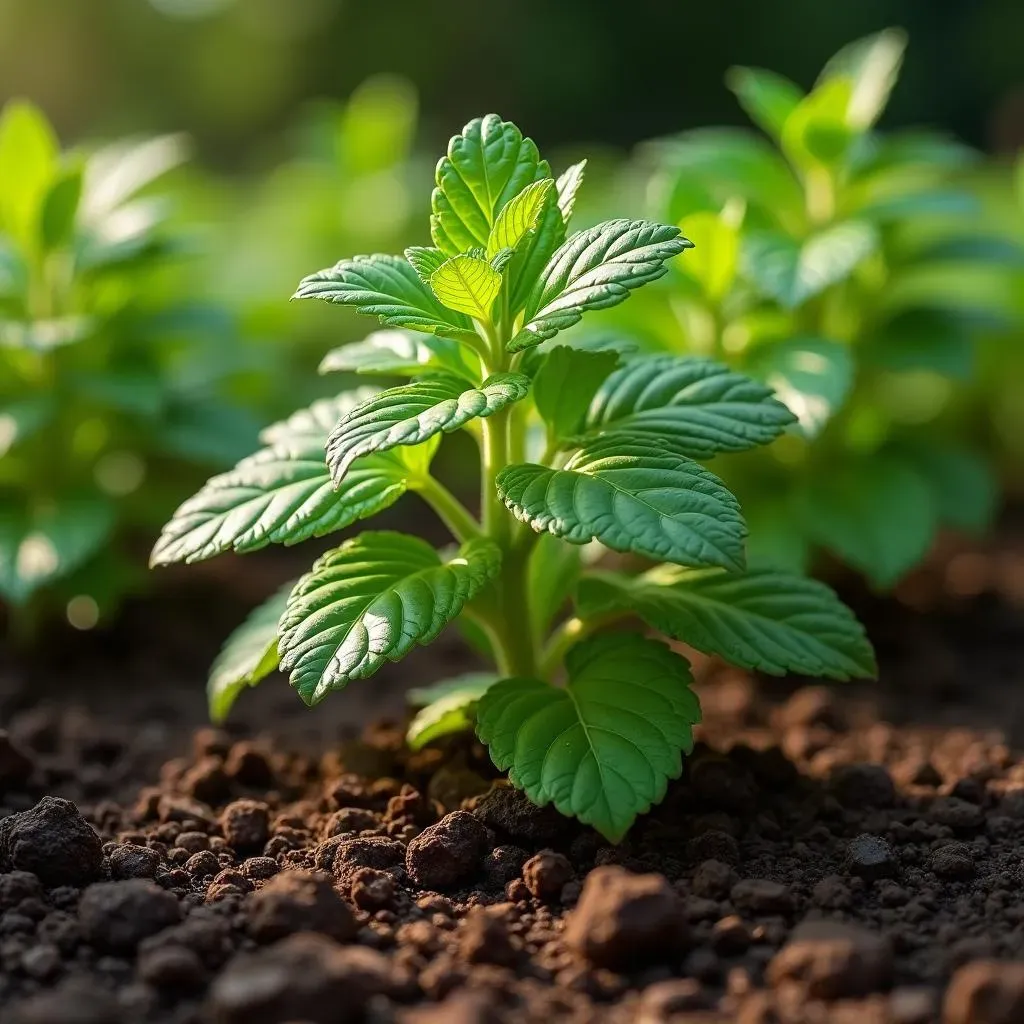
Planting Your Spearmint: From Root to Refreshment
With your garden bed prepped and ready, it's time for the main event – planting your spearmint! If you're starting from seedlings, gently remove them from their containers, ensuring not to damage the delicate roots. Dig holes slightly larger than the root balls and carefully place the seedlings, making sure the top of the root ball is level with the soil surface. Backfill the holes with soil, gently firming it around the base of the plants. Water thoroughly after planting to settle the soil and help the roots establish themselves. For propagation from cuttings, ensure they are at least 4-6 inches long before planting.
Spacing is key! Spearmint is a vigorous grower, so give each plant enough room to spread. Aim for a spacing of about 12-18 inches between plants. This prevents overcrowding and ensures each plant receives adequate sunlight and nutrients. Overcrowding can lead to stunted growth and reduced leaf production. Remember, happy plants mean more tea!
- Space plants 12-18 inches apart.
- Water thoroughly after planting.
- Avoid overcrowding.
Maintaining Your Spearmint: Nurturing Nature's Goodness
Once your spearmint is planted, consistent care is essential for a bountiful harvest. Regular watering is crucial, especially during dry spells. Aim to keep the soil consistently moist but not waterlogged. Mulching around the plants helps retain moisture, suppress weeds, and regulate soil temperature. A layer of organic mulch, such as straw or shredded leaves, is ideal. Fertilizing your spearmint once or twice a year with a balanced, slow-release fertilizer will provide the nutrients it needs for healthy growth. Avoid using fertilizers high in nitrogen, as this can encourage leafy growth at the expense of flavor.
Regular pruning is another key aspect of maintaining healthy spearmint. Pinch back the growing tips of the stems regularly to encourage bushier growth and prevent the plant from becoming leggy. Pruning also helps to stimulate new growth and maintain a compact shape. Harvesting leaves regularly will also keep your spearmint producing fresh leaves throughout the growing season. Remember, consistent care translates to a constant supply of delicious spearmint for your tea!
Maintenance Task | Frequency | Benefits |
|---|---|---|
Watering | Regularly, especially during dry spells | Keeps soil moist, prevents wilting |
Mulching | Once or twice per year | Retains moisture, suppresses weeds |
Fertilizing | Once or twice per year | Provides essential nutrients |
Pruning | Regularly | Encourages bushier growth, prevents legginess |
Troubleshooting Common Spearmint Tea Plant Soil Issues
Troubleshooting Common Spearmint Tea Plant Soil Issues
Troubleshooting Common Spearmint Tea Plant Soil Issues
So, you've followed all the advice, but your spearmint still isn't thriving? Don't despair! Let's troubleshoot some common soil-related problems. Yellowing leaves often signal nutrient deficiencies or poor drainage. Check your soil's pH – is it too acidic or alkaline? Amend the soil accordingly. If the soil is constantly soggy, improve drainage by adding organic matter like compost or perlite. Conversely, if the soil is too dry, increase the frequency of watering or add a layer of mulch to retain moisture. Wilting, on the other hand, can indicate overwatering or underwatering. Feel the soil – is it dry or waterlogged? Adjust your watering schedule accordingly. Remember, consistent monitoring and adjustments are key to a healthy spearmint patch.
- Yellowing leaves: Check soil pH and drainage.
- Soggy soil: Improve drainage with organic matter.
- Dry soil: Increase watering frequency or add mulch.
- Wilting: Adjust watering schedule based on soil moisture.
Pests and diseases can also impact your spearmint, often manifesting as discoloration or wilting. Regularly inspect your plants for signs of infestation. If you spot pests, consider using organic pest control methods, such as introducing beneficial insects or using insecticidal soap. Fungal diseases often thrive in poorly draining soils, so addressing drainage issues is crucial. Remember, prevention is always better than cure! Regular inspection, proper watering, and maintaining good soil health are your best defenses against these issues. A healthy soil environment minimizes the risk of pest and disease problems, leading to a flourishing spearmint garden.
Problem | Possible Cause | Solution |
|---|---|---|
Yellowing Leaves | Nutrient deficiency, poor drainage, pH imbalance | Amend soil, adjust watering, check pH |
Wilting | Overwatering, underwatering, pests | Adjust watering, inspect for pests |
Pests/Diseases | Poor soil health, infestation | Use organic pest control, improve drainage |